🔥 Reactive.
An easy to set up reactions and comments widget using your own Firebase database.
Setup
Firebase
First, set up Firebase. Navigate to the Firebase console and create a new project.

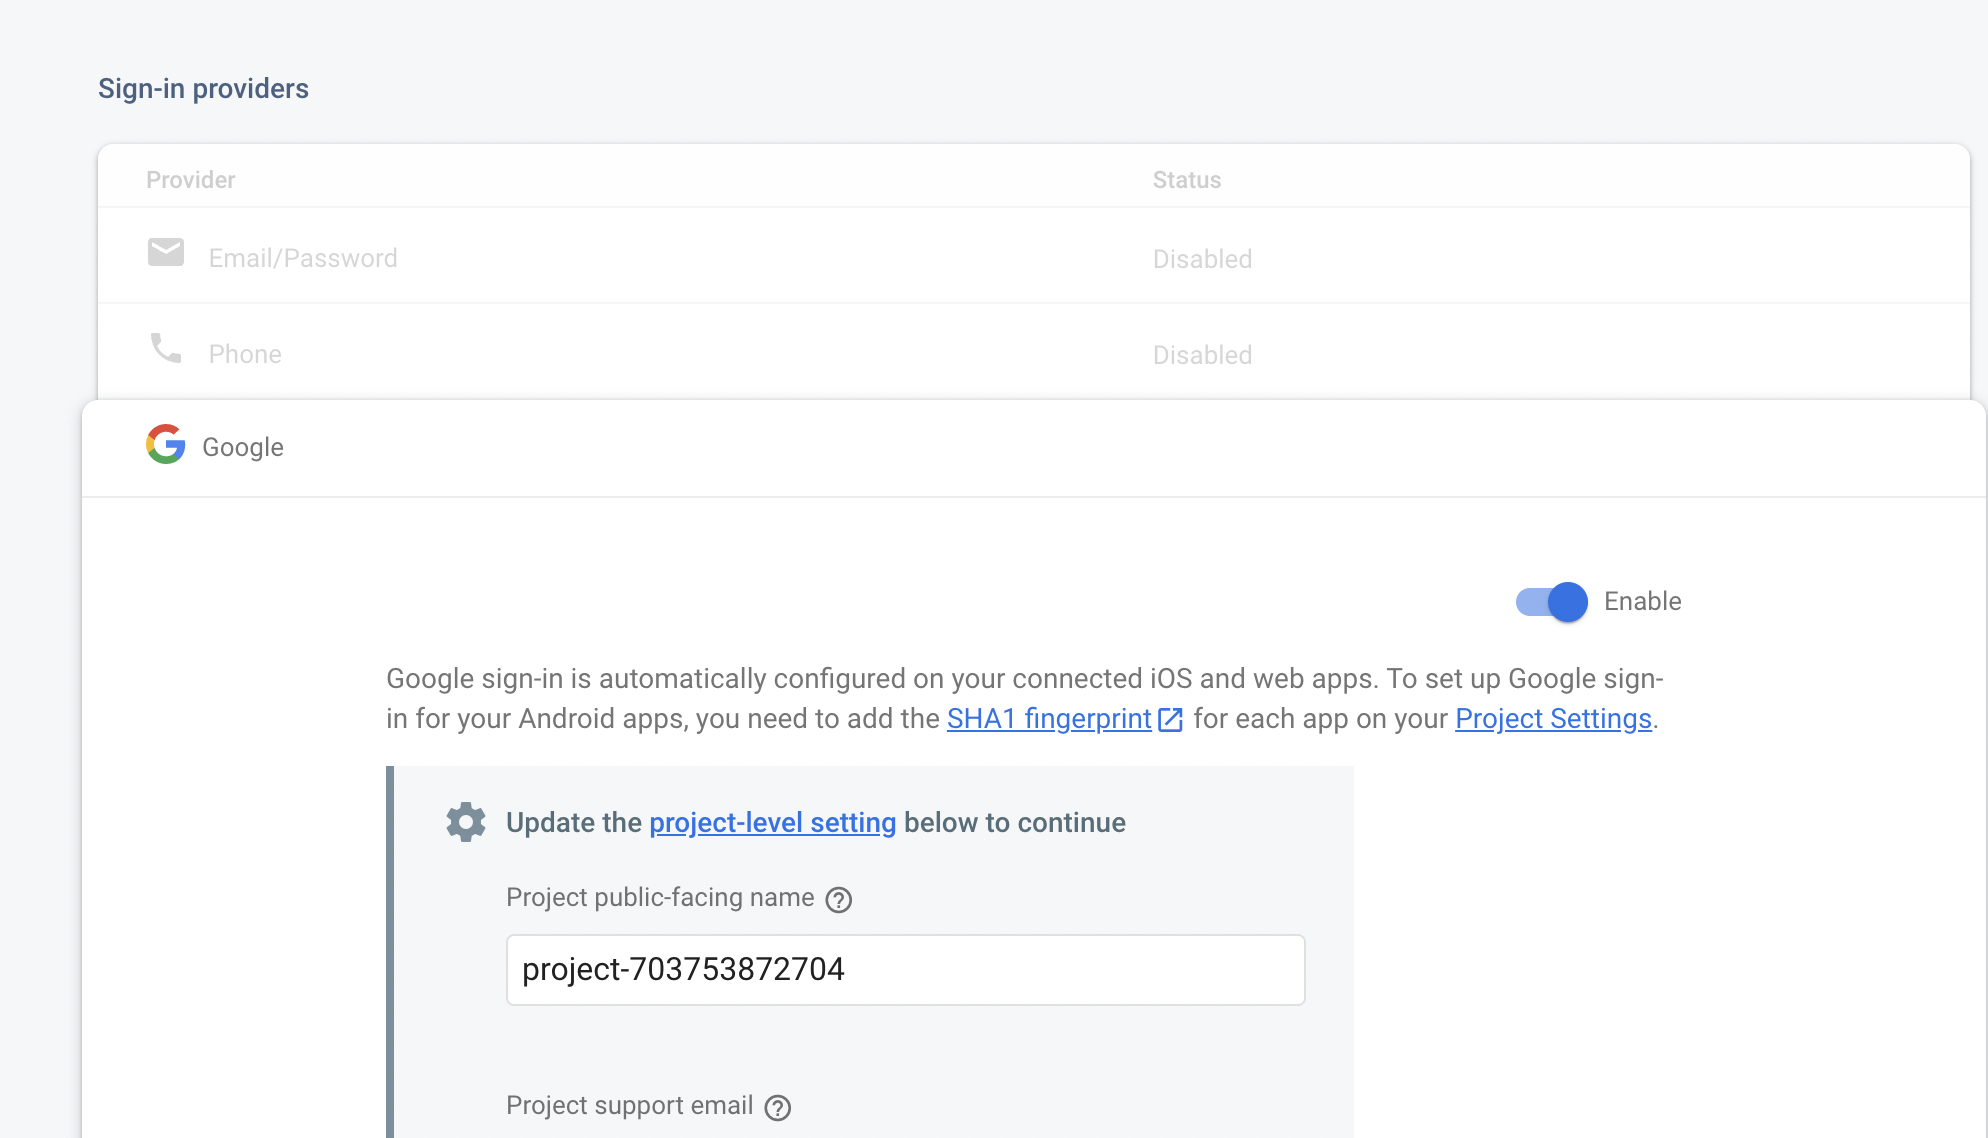
Go to the Authentication section, click "Get Started", and enable the Google sign in provider.
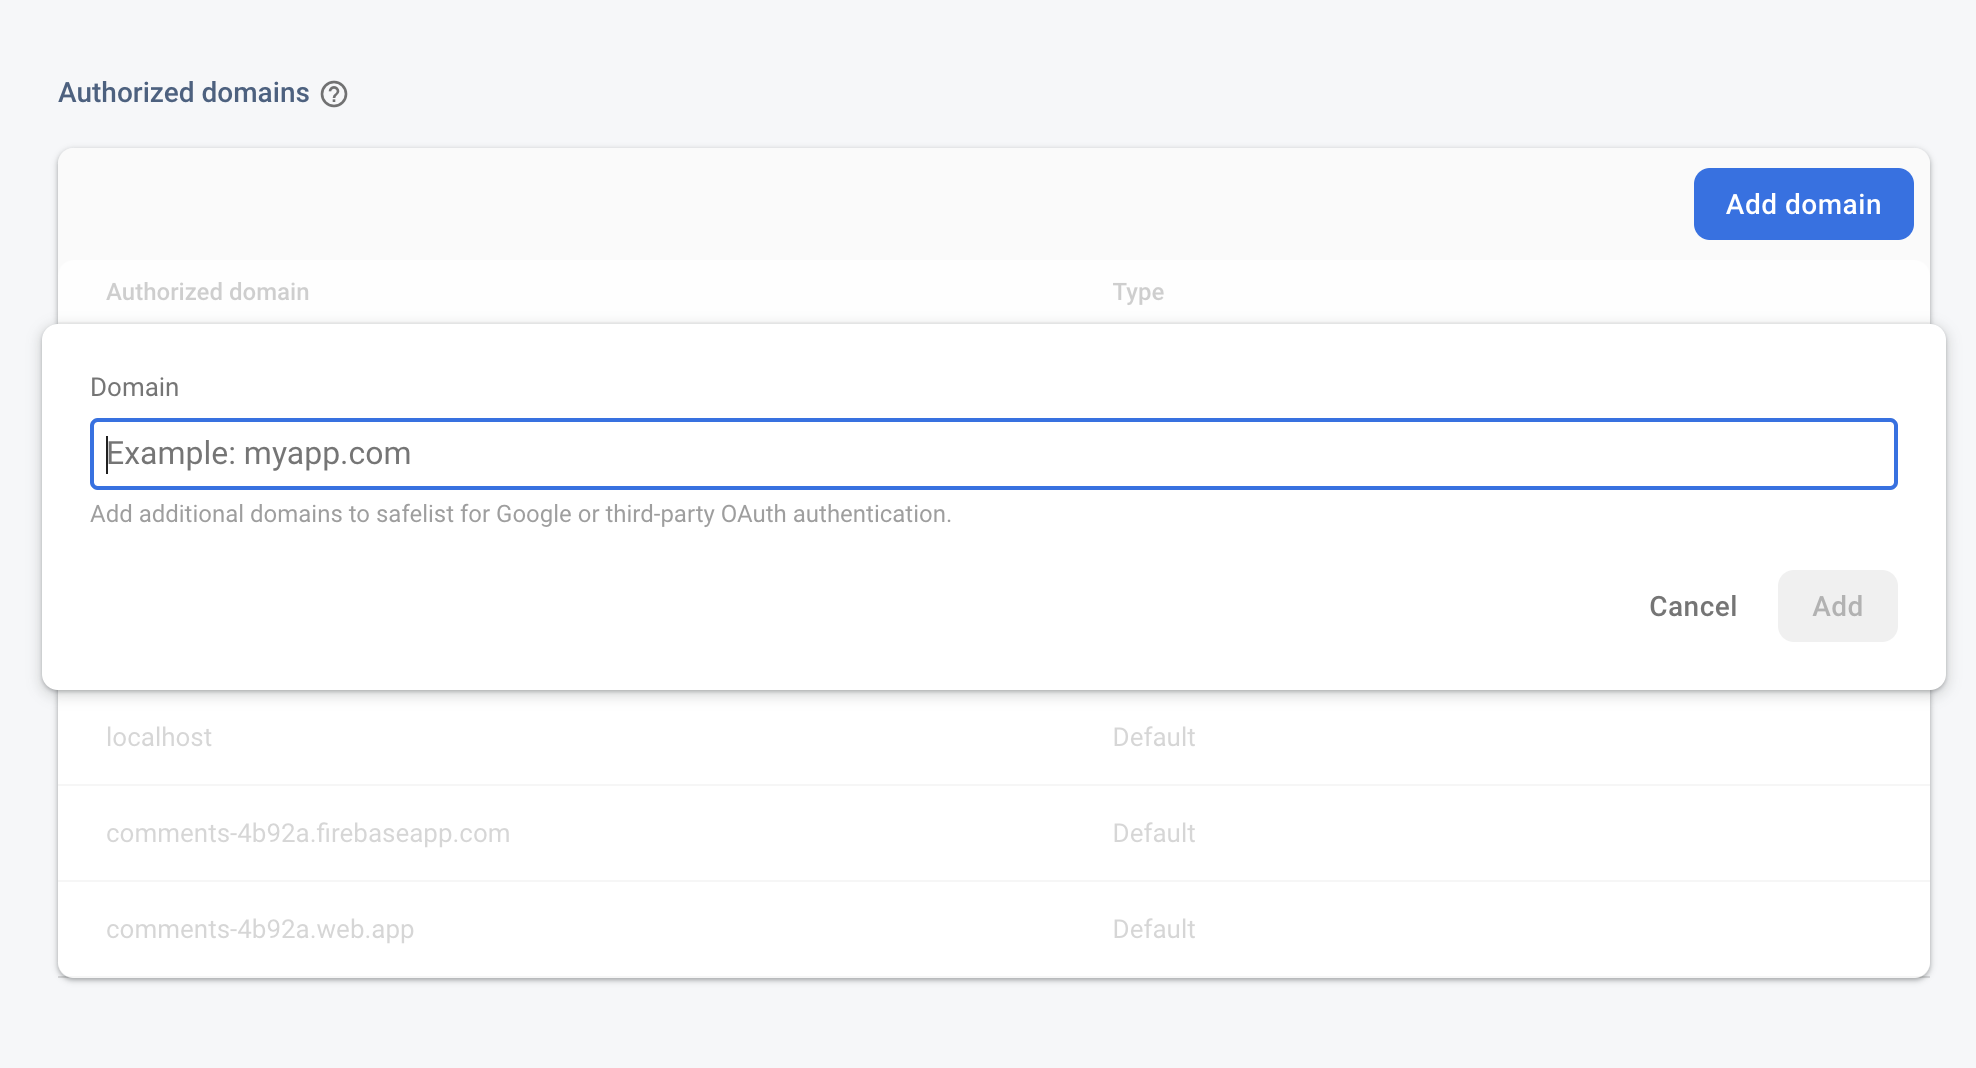
Then, scroll down and add your website's domain to the section of authorized domains.
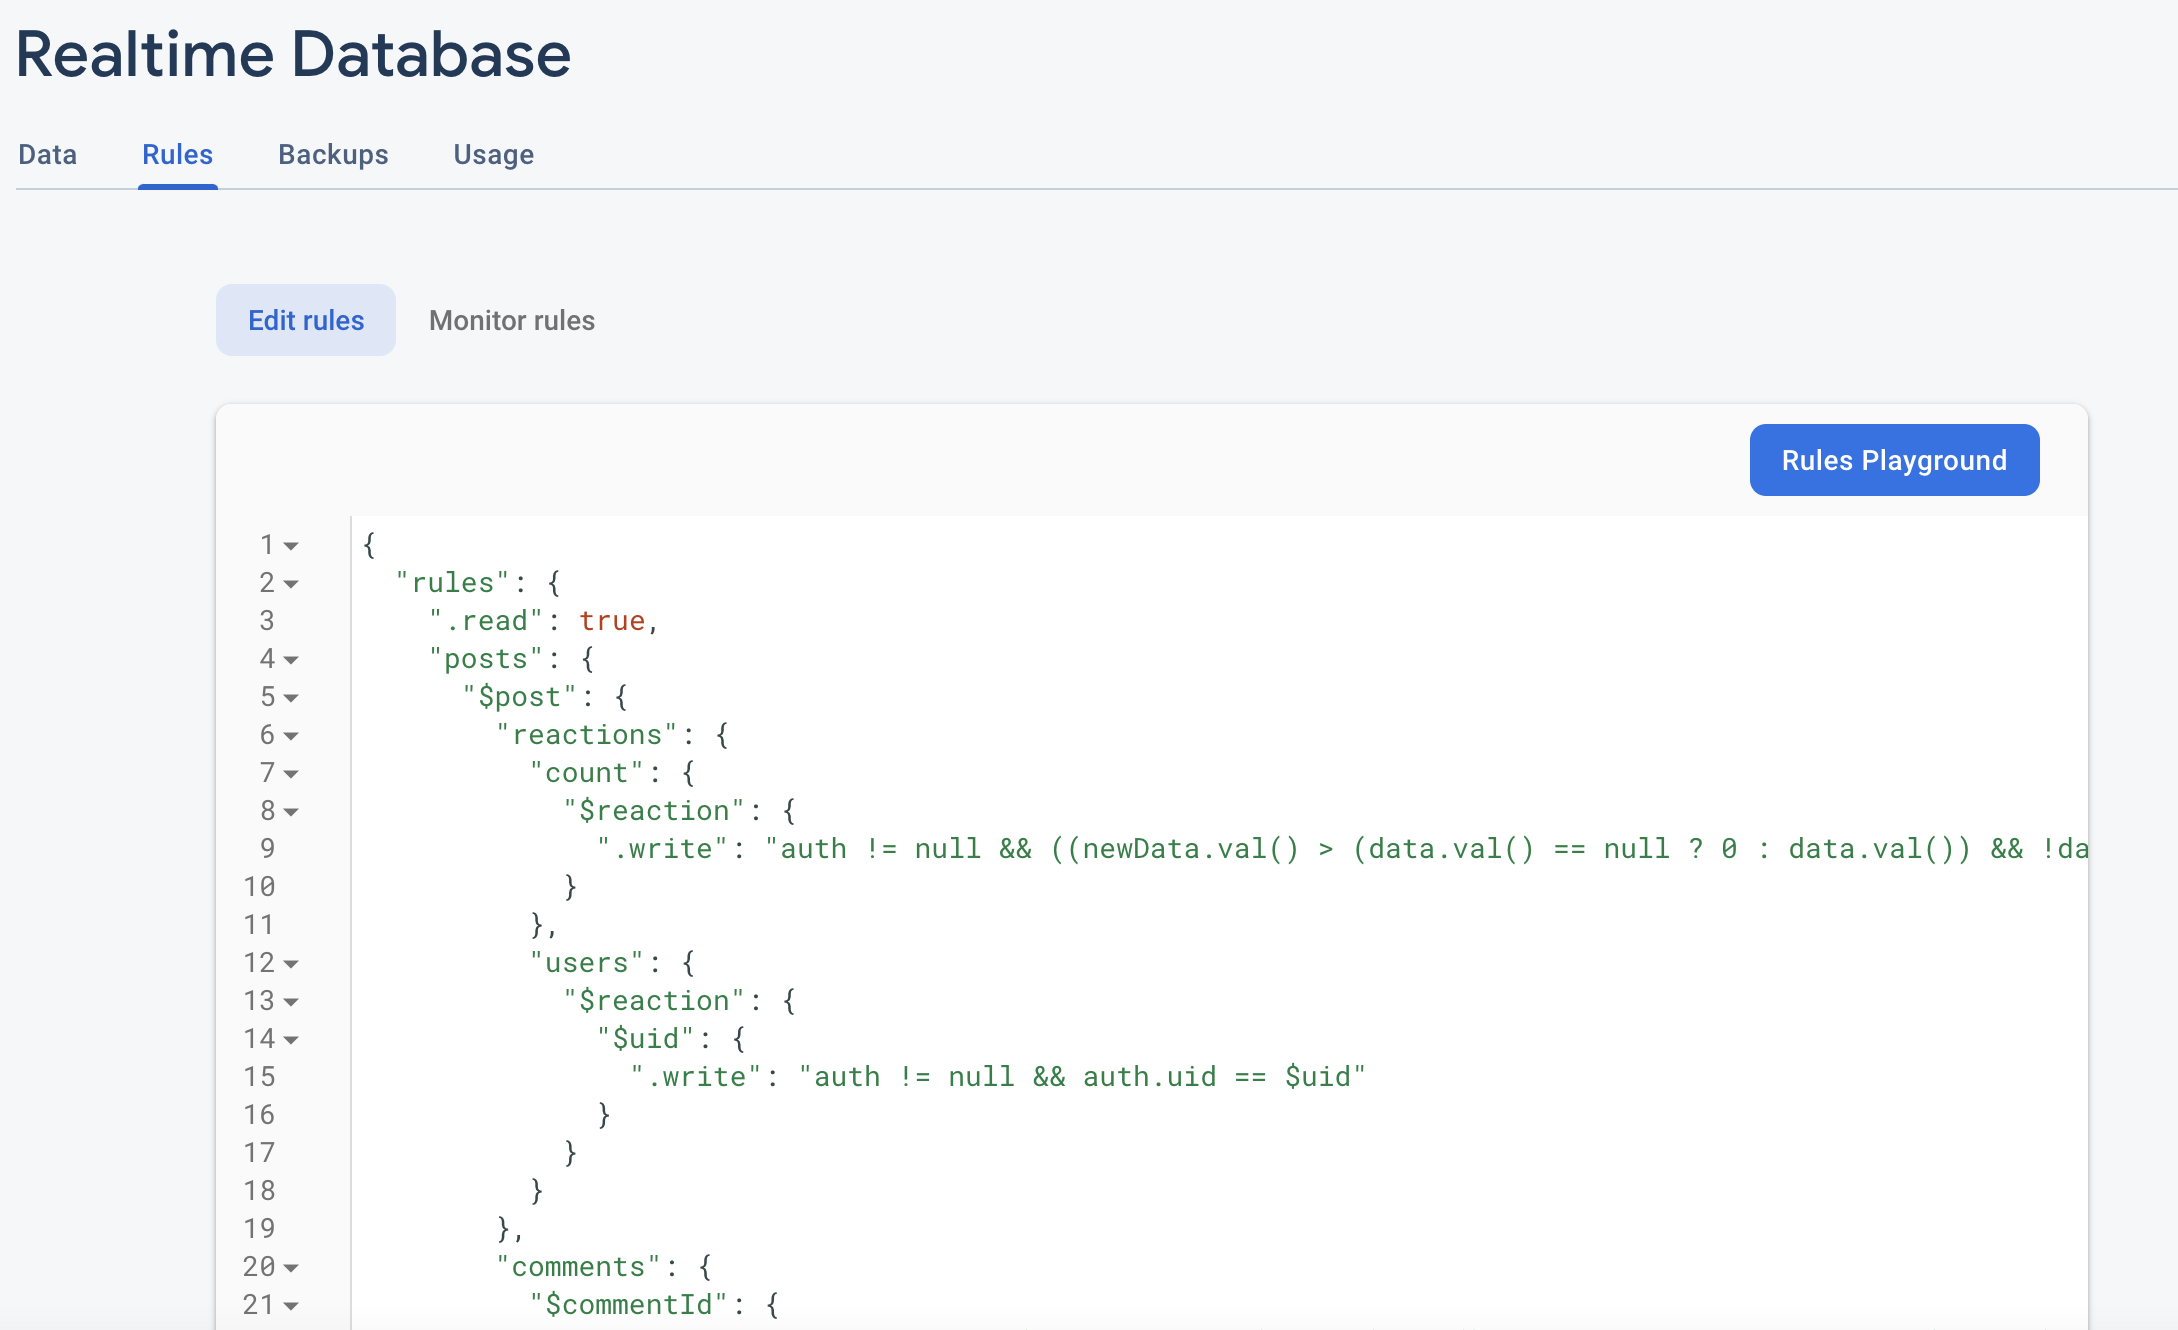
Next, click "Realtime Database" on the sidebar and click "Create Database". Choose "start in locked mode" and enable the database. Navigate to the rules tab, and add in these rules.
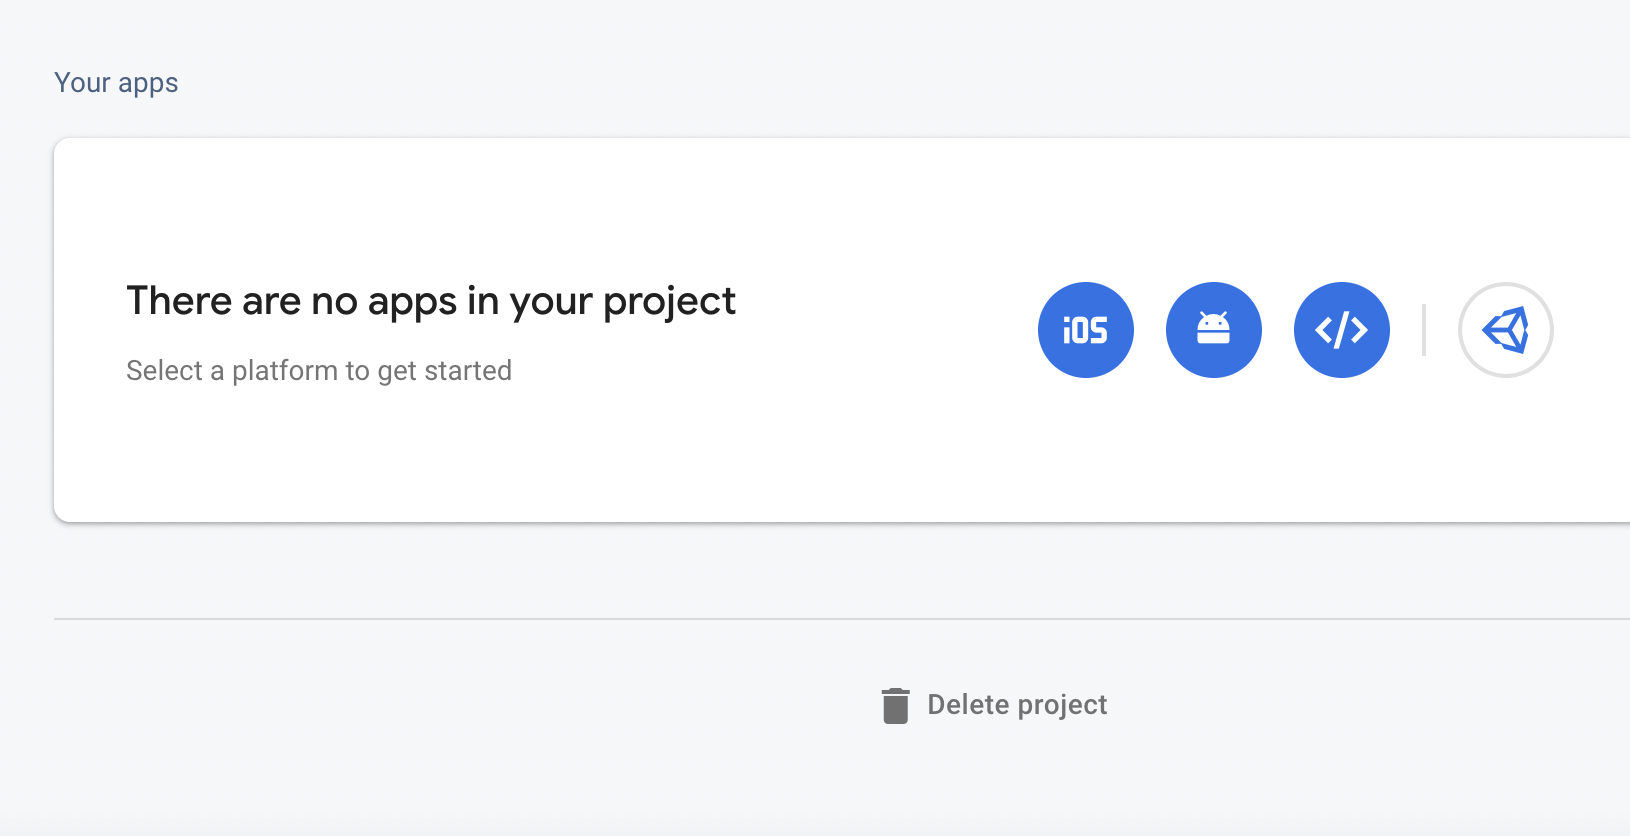
Then, go to the project settings,
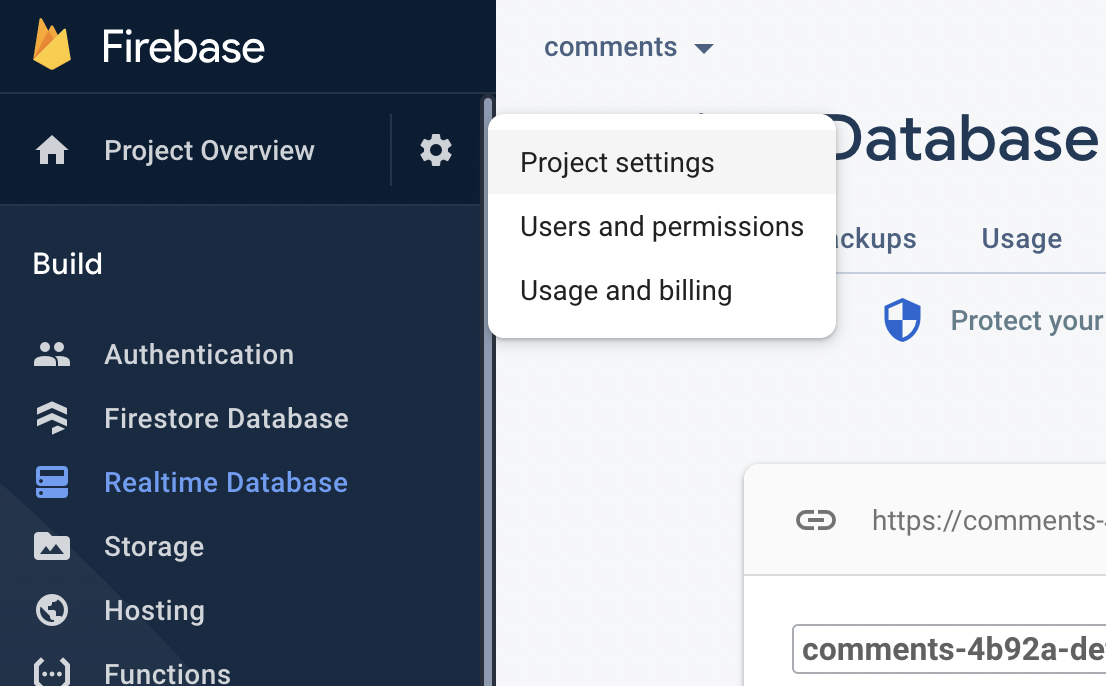
and create a new web application.
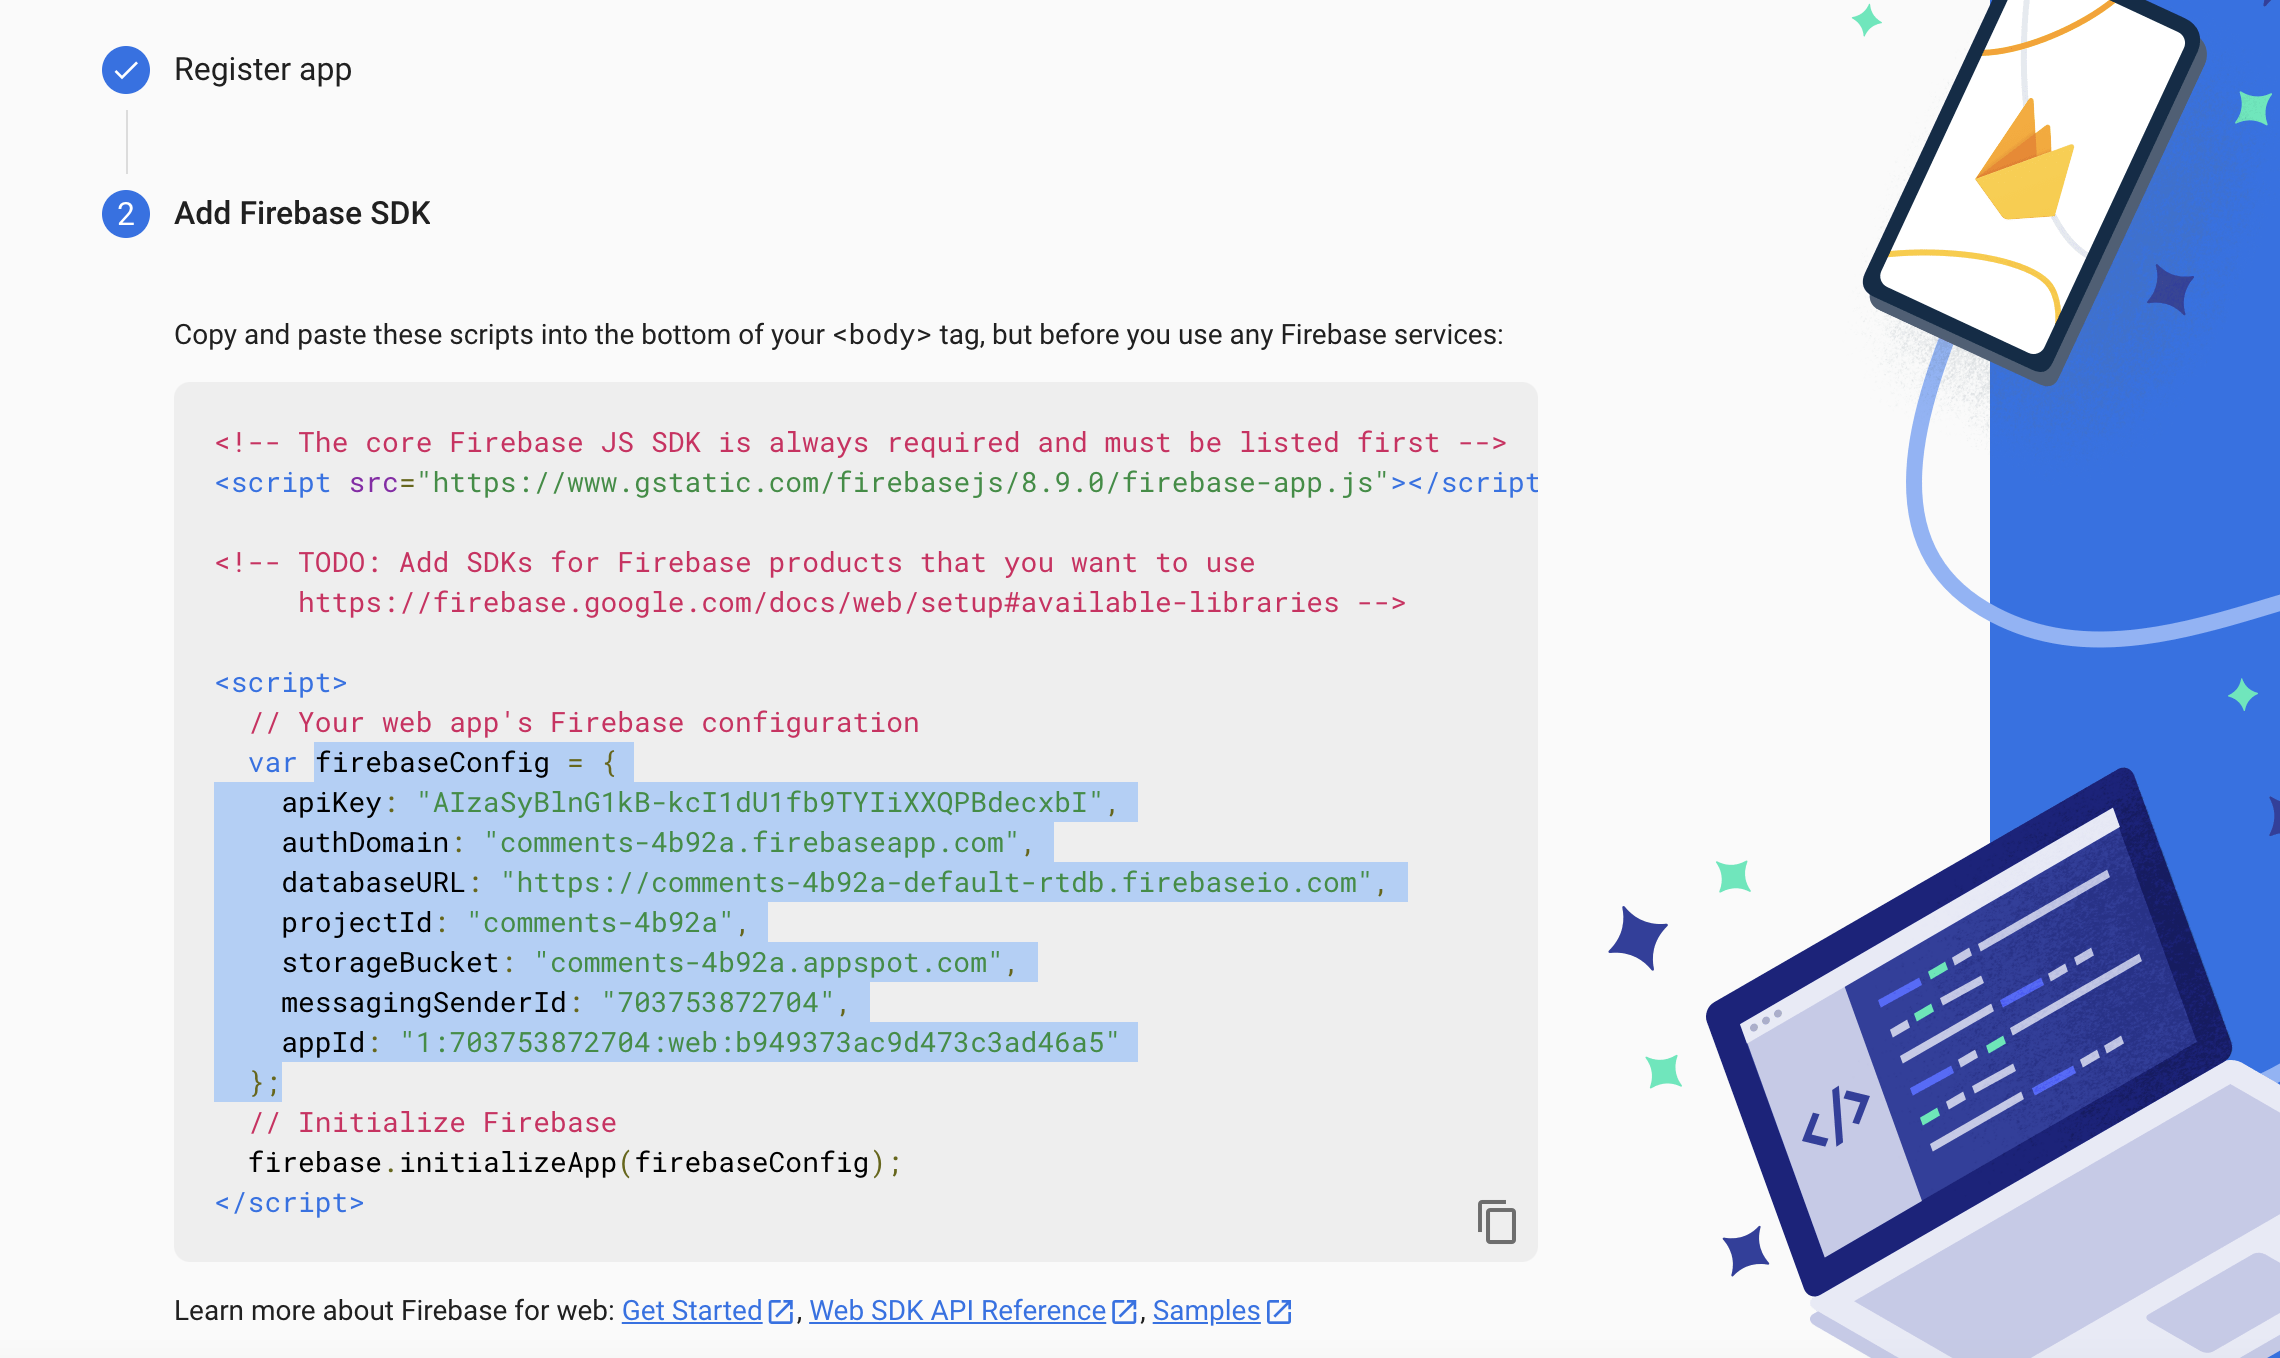
After you register the app, copy the firebaseConfig. You'll need this for the next step!
Reactive
Using npm
If you have a bundler for your website like webpack, you can directly import the npm module.
Use
# for npm
npm install @maggieliu/reactive

# for yarn
yarn add @maggieliu/reactive
to add reactive to your website.
Loading from a script tag
If you want to load Reactive from a script tag, add this script tag to your website.
<script src="https://reactive-comments.vercel.app/dist/bundle.js"></script>
Reactive will render into a div with id reactive_widget. Place this where you want the comments and reactions to appear on your website. If you're loading Reactive via a script tag, make sure the div appears before the script tag.
<div id="reactive_widget"></div>
Then, you need to install Reactive. Use the code below either in a script tag after the script that loads Reactive, or somewhere with your javascript code.
reactive.install({
    /* configuration options go here */
    firebaseConfig: /* your firebaseConfig */
    page: /* an identifier for the current page, to be used in the database */
    reactions: /* a string array containing the reactions you want to be shown */
    reactionText: /* the text you want to appear above the reactions */
    paymentPointer: /* for webmonetization */
});
The firebaseConfig option is required, you should paste the firebaseConfig from the previous step here.
All the other options are optional.
The page option is an identifier for the current page, to be used to store reactions and comments in the database. The default is window.location.pathname, with a trailing slash appended if one does not exist.
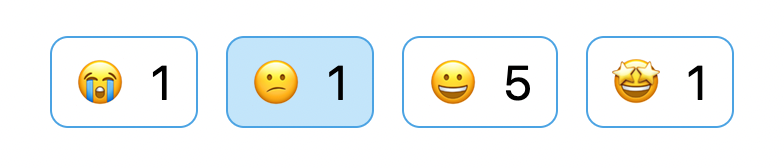
The reactions option is a string array containing the emojis you would like to appear in the reaction widget. The default is ["😭", "😕", "😀", "🤩"].
The reactionText option determines the text that appears above the reactions. The default is "Did you enjoy this post? Leave your reactions below!".
Reactive supports webmonetization through Coil. You can add your own payment pointer from Gatehub or Uphold through the paymentPointer option. The default is "$ilp.uphold.com/LJmbPn7WD4JB".
Custom theming is available through the primaryColors and secondaryColors options. Each of these options accepts an array of 10 CSS colors, which are interpreted as the lightest shade to the darkest shade.
An example is shown below:
reactive.install({
firebaseConfig: {
apiKey: "apikeyfromfirebase",
authDomain: "yourappname.firebaseapp.com",
databaseURL: "https://yourappname-default-rtdb.firebaseio.com",
projectId: "yourappname",
storageBucket: "yourappname.appspot.com",
messagingSenderId: "123456",
appId: "1:12345:web:fd239v10fg2",
},
page: "homepage",
reactionText:
"Leave your thoughts and reactions about this post in the comments below!",
reactions: ["🦄", "😎", "😶🌫️", "😼"],
paymentPointer: "$ilp.uphold.com/D7BwPKMQzBiD"
primaryColors: [
// array of 10 valid CSS colors
],
secondaryColors: [
// array of 10 valid CSS colors
]
});
Then, you should see Reactive rendered on your page! Now you have an easy to set up, easy to configure comments and reactions system.